| Rinoleopard | ||
|---|---|---|

Original Rino
|

Original Leopard
|
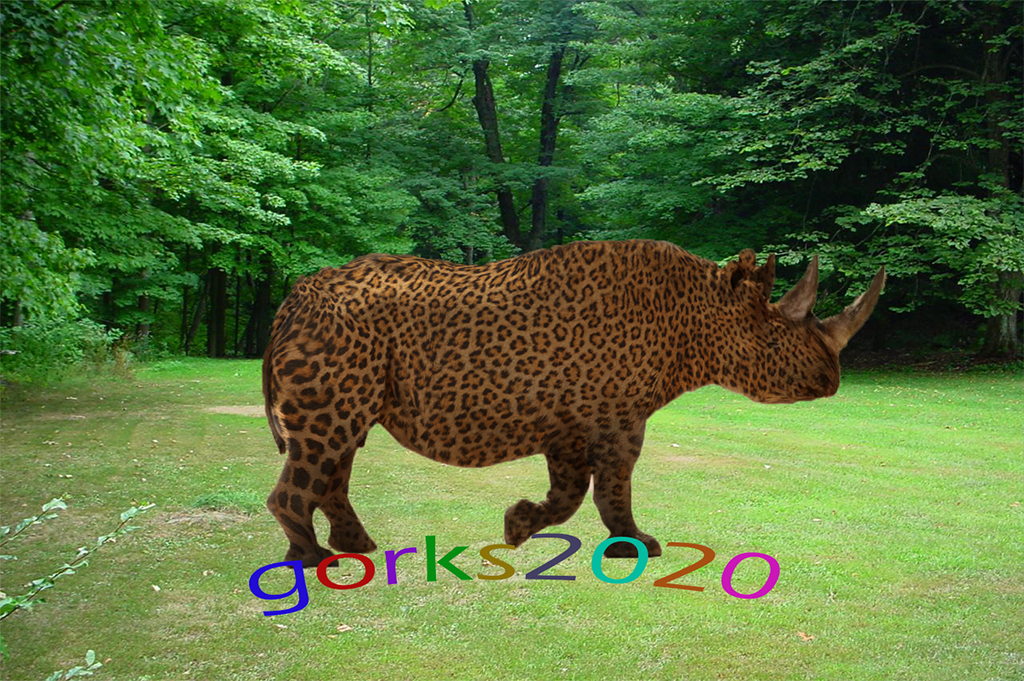
Rinoleopard
|
| -open the rino image, then place embedded the leopard image -reposition the leopard image to best match the rino -add a layer mask to both images -go to file- liqufiy while on the leopard image -select rino and turn opacity down to 50% -match leopard skin as best as you can to rino body -paint black over the leopard mask to remove the background, and any excess leopard parts -select the "multiply" blending layer -add Brightness/Contrast layer and adjust as necessary -use clone stamp to touch up and stretched leopard skint -touch up any small details using previous steps -turn down opacity to 80% on leopard layer -merge all layers and use quick selection to select animal -add new background and place it over that -add blog url and make something cool with it -export as png |
||
Strawbog
|
||

Original Dog
|
Original Strawberry
|

Strawbog
|
| -place dog image -place strawberry image -position to match up with dog -use quick select to select the strawberry stem -isolate it from the strawberry -erase dog tail -place stem where dog tail was -use clone stamp tool to fill in any dog parts with strawberry -use warp tool to warp stem into tail shape -add a cool background and blog url |
||
| Green Kobe | ||

Kobe
|

Basketball
|
Kobe
|
| -add any person image -click "Edit in quick mask mode" -highlight any skin -click "Edit in quick mask mode" button again -press Ctrl+Shift+I to invert the selection -add a Hue/Saturation effect -play around with the colors to make it whatever you want -add blog url |
||
Friday, February 21, 2020
Photoshop - Animal Skin Swap (x2 plus 1)

Subscribe to:
Post Comments (Atom)
No comments:
Post a Comment